Calibration is what makes TrueStitch previews true: you tell the app how big your hoop is and where it sits on the product photo, and every preview and stitch file is scaled from that single measurement.
Add your hoops
- Open Settings → Hoops.
- Add each physical hoop you own with its stitch field size in millimeters (for example 100 × 100).
Calibrate the product photo
- Open a product's detail in TrueStitch.
- Pick the hoop you'll use for this product and its orientation (landscape or portrait — the toggle only shows for non-square hoops).
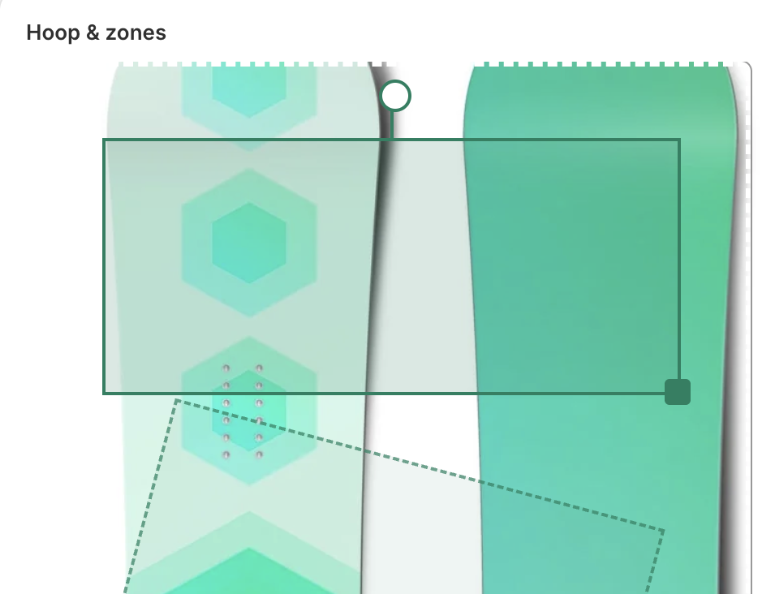
- Drag and resize the hoop outline on the product photo so it matches where and how large your hoop really sits on the garment. The outline is your millimeter ruler — everything else derives from it.
- Optionally use Adjust photo view to crop the photo — for example to show just the chest area. The crop is only a view: your calibration stays anchored to the full photo.
Draw the zones
- Add a zone for each area a customer can personalize — chest, sleeve, pocket.
- Drag to move, grab a corner to resize, use the handle to rotate. Rotated zones always stay inside the hoop.
- Select zones in the list below the photo — each zone has a label (shown to customers), an optional character limit, and exact millimeter dimensions you can also type in directly.
Fonts and sizes per zone
In the zone's Allowed fonts & sizes, tick the fonts and sizes customers may use in that zone. Leaving everything unchecked means all your fonts are allowed. A small sleeve zone can allow only small sizes while the chest allows everything.